The User Interface
Virtual Sound Stage 2.0 has a completely redesigned user interface, which gives you control over all your instances from a single screen.
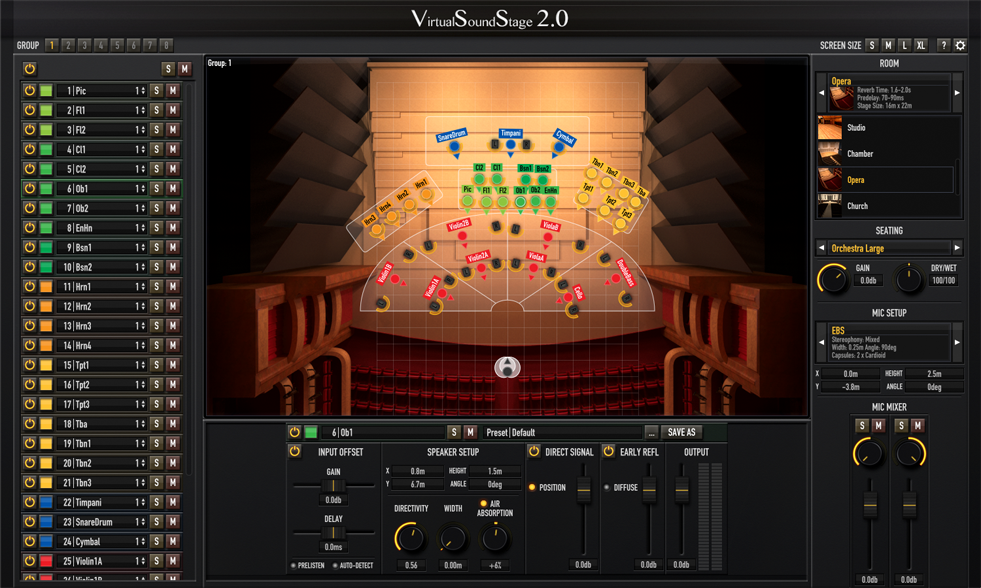
Toolbar

SCREEN SIZE
Resize the user interface to fit your screen size.
HELP
A quick link to this online documentation.
PREFERENCES
Opens the preferences panel, where you can check your version and license and activate upgrades.
Group Selection

GROUP
Select the group to be displayed on the stage. Active groups are displayed in white.
Instance List
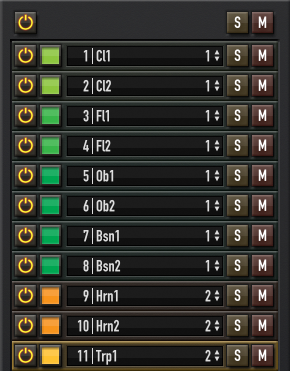
GLOBAL CONTROLS
Global bypass, solo and mute effecting all intances
BYPASS, SOLO & MUTE
For quick A/B comparisons
GROUP SELECTOR
Assign the instance to one of the eight available groups.
COLOR SELECTOR
Assign a color to your instruments
NAME LABEL
Always name your instances immediatly or you'll get confused later on.
Input Offset
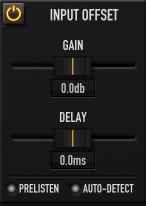
GAIN
Controls the interchannel gain offset that's applied to the input signal (up to 20db)
DELAY
Controls the interchannel delay offset that's applied to the input signal (up to 15ms)
PRE-LISTEN
When active, you can listen to the input signal, as it leaves the input offset section without any further positioning or reflections added. This is very handy while adjusting the gain and delay offset.
AUTO-DETECT
When you start the Input Offset Auto Detection, Virtual Sound Stage will record and analyze a short section of the input signal and try to set the gain and delay offset for you. This is good as a starting point, but make sure to always double-check by ear.
Speaker Setup
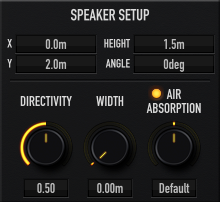
DIRECTIVITY
Controls the Directivity of the virtual speakers. A directivity of 0 means the signal will emit sound equally in all directions and if the directivity is set to 1, the sound will only be emitted in the direction of the speaker cone.
WIDTH
Controls the width of the virtual speaker setup.
To keep the signal path clean there's a link between the left speaker and left microphone as well as the right speaker and the right microphone. This is crucial to eliminate any kind of phasing, but can result in unexpected positioning effects, if the speaker setup is not pointed towards the microphones. To quickly direct the sound source to the main microphone you can double-click the arrow in the stage view.
AIR ABSORPTION
If Air absorption is turned on Virtual SoundStage will emulate the effects that take place when sound travels through air. Depending on the setting of the Air Absorption Parameter and the distance between the sound source and the microphone this can result in either a damping or a boost of high frequencies. If your input signal has been recorded with a very close microphone you can use a higher air absorption level to damp more of the higher frequencies. If on the other hand the input signal already has been recorded from a distance, you can use a negative value to bring back some of the higher frequencies that have been lost during the original recording.
Level Controls
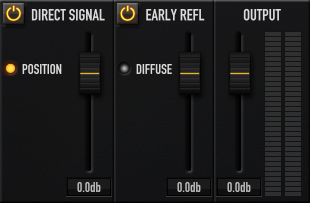
DIRECT SIGNAL
Controls the level of the direct signal.
POSITION
If turned off the direct signal won't be touched by Virtual Sound Stage. This can be usefull, if you only want to add some ER's to a track without changing its position.
EARLY REFLECTIONS
Controls the level of the Early Reflections.
DIFFUSE
Add an extra Diffusor to the Early Reflections. This works well on very dry or percussive sounds.
OUTPUT GAIN
You can use the output gain to compensate for any gain differences between the input and output signal similar to a makeup gain control in a compressor.
Global Controls
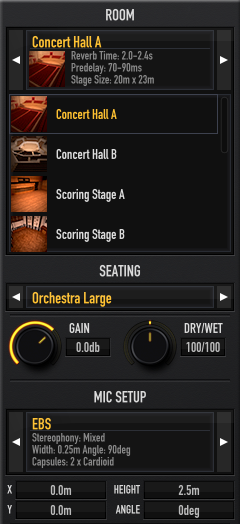
ROOM
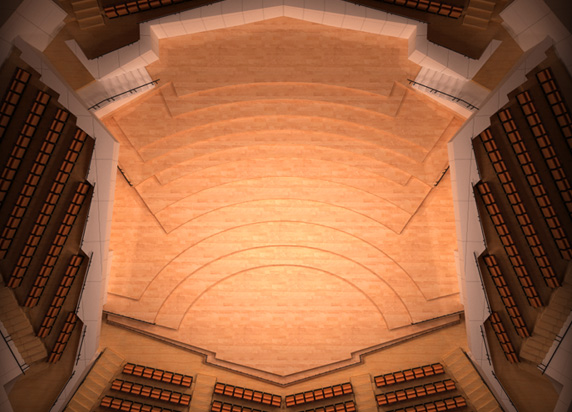
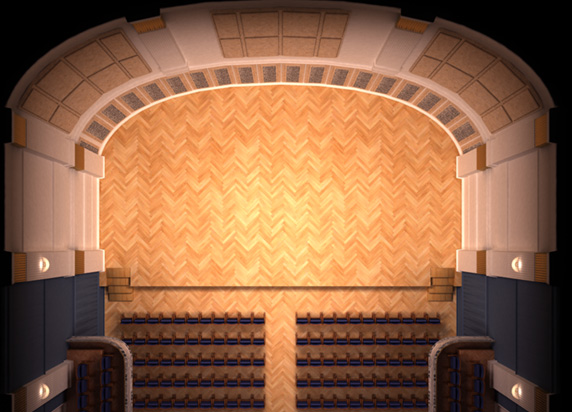
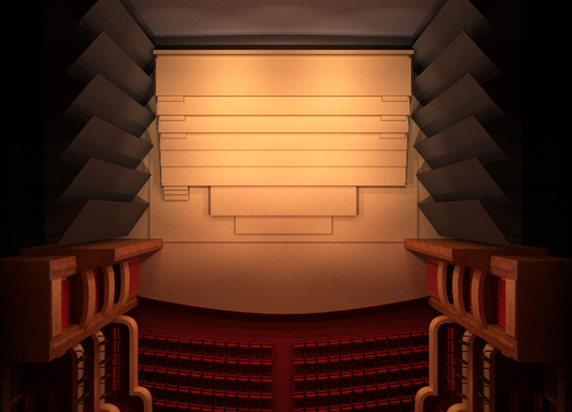
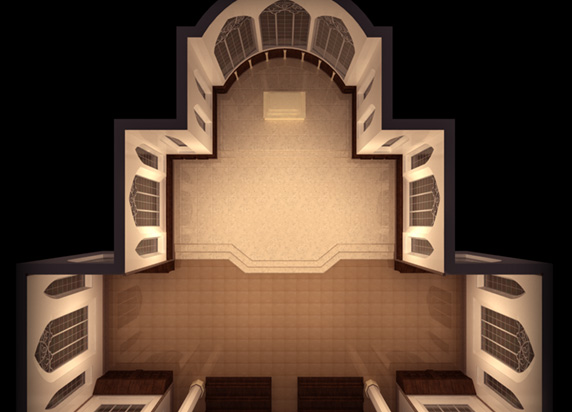
A list with all available rooms and a quick starting point for your reverb tail settings.
SEATING
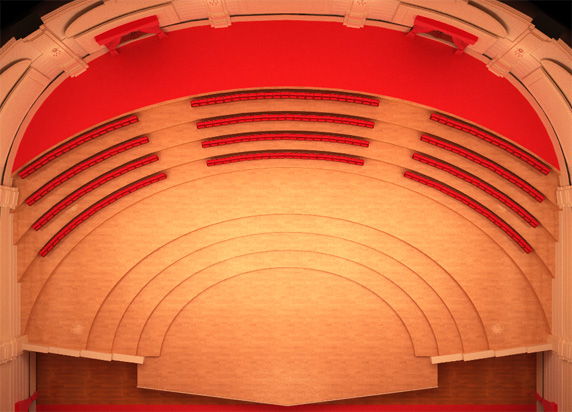
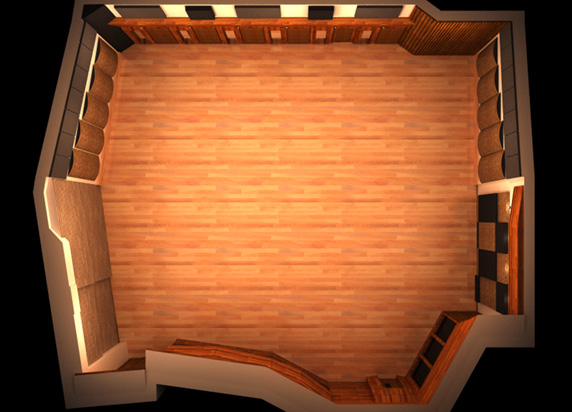
Choose a seating plan as a guide, while you position your instruments.
GAIN
A global gain control effecting all instances.
DRY/WET
Changes the ratio between direct signal and early reflections in all active instances.
MICROPHONE SETUP
Choose a microphone setup from the list and set its position.
MICROPHONE MIXER
Here you can change the level and panning of individual microphones.
